Menu of Services

Search This Blog

Showing posts with label Halloween. Show all posts

Tuesday, October 27, 2015

Posh Pumpkins

POSH PUMPKINS


smallSHOP likes 
to put a spin pumpkins each year. 
So, this year we headed to the sea. 
If Tiffany were on a Seaside Holiday 
and 
if Tiffany were a pumpkin,
we think that it might look like this:


Simple Steps: 

1. Find some nice pumpkins: 


Paint one solid color. 
We choose spray paint and the color Flipper:


3. Embellish with Seashells, Paint Pens and Glitter:


Display proudly: 


Happy Halloween!

And remember, 
do something creative today!

Always, 
Sage and smallSHOP


Thursday, October 30, 2014

Spooky smallSHOP Skull Painting

SPOOKY SKULLS
A smallSHOP DIY

Trade in the pumpkins for a permanent 
holiday decoration to use year after year. 

Create an abstract skull painting 
easy DIY and fun for all…

You will need: 
canvas, paint, poster board and a x- acto knife


5 EASY STEPS TO CREATE YOUR SKULL:

1. Cover a canvas with a vivid abstract painting
2. Make a skull stencil using poster board.
3. Lay your skull stencil over the dry background and paint black
4. Finish with glitter embellishments. 
5. Spray with high gloss sealant for extra pizazz.

WHAT YOU GET: 
HAPPY KIDDOS AND A HAPPY HALLOWEEN!

Keep Creating!

Always, 

 smallSHOP

Thursday, October 31, 2013

Halloween Entertaining smallSHOP Style

BOO
Healthy Treats and Spooky Sweets. 
Happy Halloween. 

Always, 
smallSHOP

Wednesday, October 16, 2013

Halloween New Creations and Some Old Time Favorites


We love Halloween!

Especially when we get to combine 
a few of our favorite things: 
Paint + Glitter +  A Kid's Imagination
This year we have made a few new pumpkins and 
brought back some of our favorites from last year. 
We went to our local farm, 
but Trader Joe's has great pumpkins for $2.99. 


A 4 years old boy's vision... a minion. 


An 8 years old girl's idea... a unicorn.

BLING BLING

AND SOME OF OUR FAVORITES
FROM LAST YEAR.
 Glitter, tape and paint = Chevron patterned fun


Minimalist Pumpkin...


 Shiny Star Topper...

Black + A Bit of Green...

So, go and get a pumpkin and some paint... and have fun!
Or call us... we will come over and brighten up your porch.

Have a great day!
Sage and smallSHOP


Monday, October 29, 2012

Gimme some of that Bling Bling...

JUST ADD BLING BLING 
AND 
DONE!


We have been getting inquiries on 
how to make this pumpkin. 

So, here it is. 
This is the easiest pumpkin ever!

Check out the simple step below and have fun!
Remember, do something creative today!

Always, 
Sage and smallSHOP


Saturday, October 6, 2012

PUMP-kin IT UP x 2

OUR NEWEST STARS
from this week's PUMP-kin IT UP lessons. 
Enjoy and go paint some pumpkins this weekend. 

Always, 
Sage and smallSHOP


Tuesday, October 2, 2012

PUMP-kin IT UP!


I have never been much of a pumpkin carver, 
I have great respect and admiration for those who are. 
I can, however, paint a pumpkin. 

Here is a batch of designs for inspiration 
and a batch of designs that you CAN 
actually do with your children. 
We will break down the steps below. 

INSPIRATION

TRULY POSSIBLE FOR KIDS
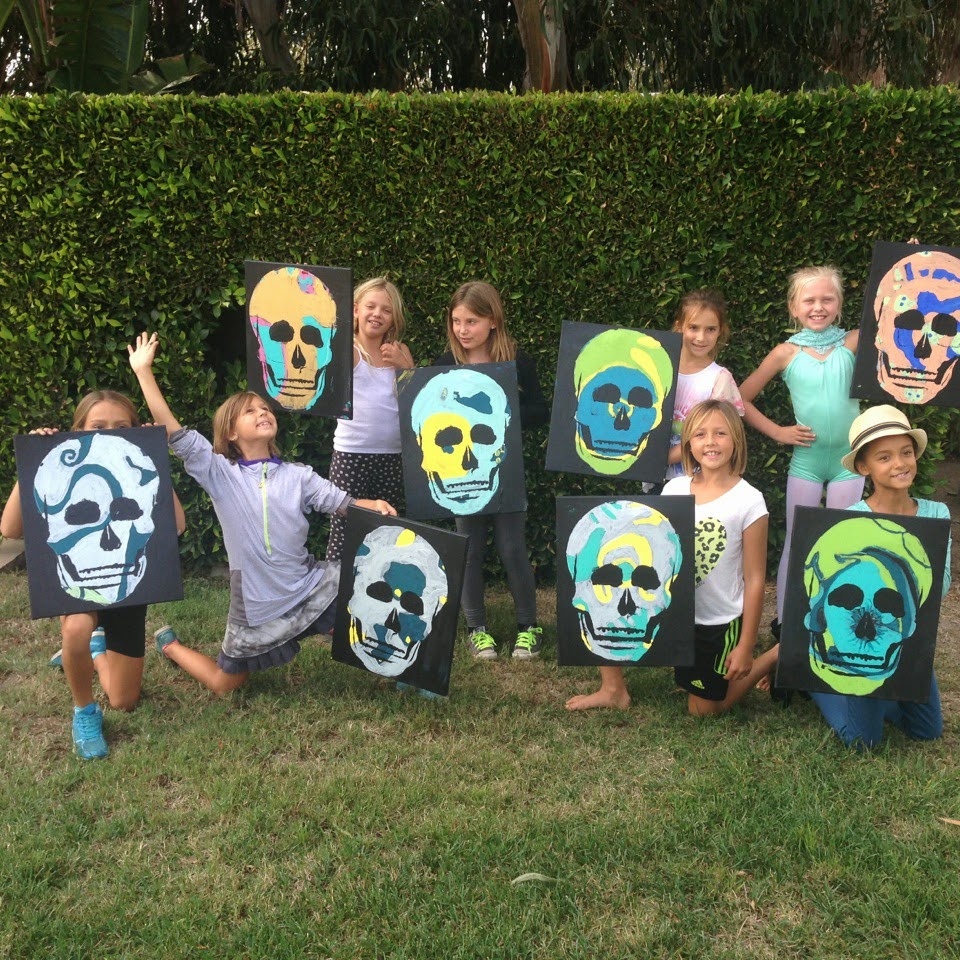
Last Halloween smallSHOP partnered up with 
Petit Bateau Beverly Hills for some holiday art.

It was a fun filled afternoon with 
sweet little artist and great pumpkins 
for their doorsteps. 

Here are a few simple painted pumpkins that 
your kids can TRULY DO THEMSELVES. 
1. MODERN SPIRAL STRIPES 
Get thin tape and wrap away. 
Paint with layers of white paint, 
letting it dry in between layers. 

Once dry, gently pull tape and voilĂ . 
For a shiny finish, mix Mod Podge in the paint or 
paint a layer on after it is dry. 

2. BLOCK COLOR TOPS
Get a thicker tape and decide how much color 
you want on top. Choose your color and paint. 
Paint a few layers and the stem too. 
For a matte finish leave it be, 
for some shine Mod Podge it


3. POLKA DOTS
For orange (pumpkin colored) polka dots:
 simply place dot stickers 
(any office supply store will have) 
all over the pumpkin. 

Choose your color and paint a few layers. 
Once dry peel them off. 
For a different color combo: 
Paint the pumpkin a solid color of your 
choice and wait to dry. 
Add the dots and paint a few layers. 
Once dry, peel off and there you go!


4. HERE KITTY KITTY
Tape stripes and paint the pumpkin white. 
Let dry, then with a sharpie or black paint add eyes, 
nose, mouth and whiskers. Use paper to make 
double sided ears and place a toothpick inside and glue, leaving about an inch left out to stick into the pumpkin. 

Or you can check out pre-made cupcake kits, 
they have fun ideas that can be translated to a pumpkin. 

5. SPARKLY PUMPKIN
Paint it one color mixed with mod podge. 
Cover in glitter. 
Leave to dry. 

6. MUMMY
Paint layers of white paint (or get a white pumpkin). 
Get a paint pen and draw the wrapped 
gauze. Draw eyes and eye balls. 


7. MAKE UP YOUR OWN
And please share with us!

Happy October!

Always, 
Sage and smallSHOP