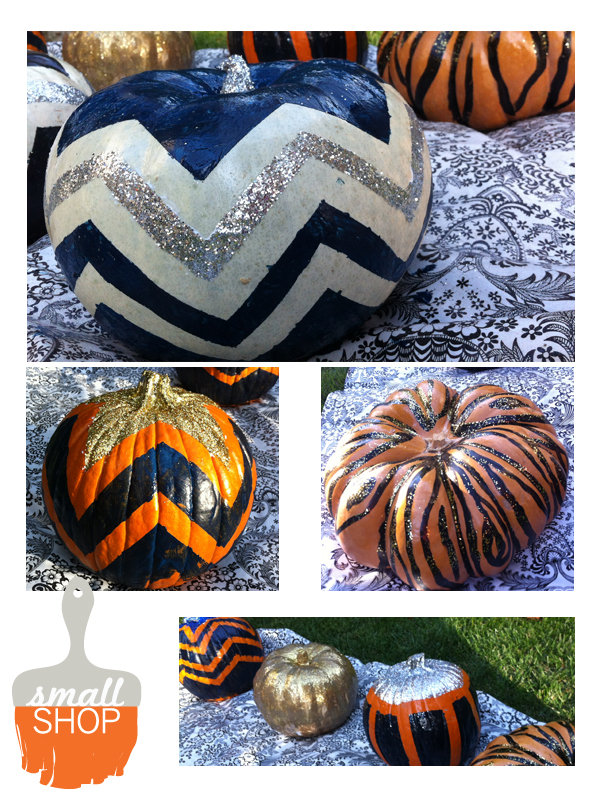
I have never been much of a pumpkin carver,
I have great respect and admiration for those who are.
I can, however, paint a pumpkin.
Here is a batch of designs for inspiration
and a batch of designs that you CAN
actually do with your children.
We will break down the steps below.
INSPIRATION
TRULY POSSIBLE FOR KIDS
Last Halloween smallSHOP partnered up with
It was a fun filled afternoon with
sweet little artist and great pumpkins
for their doorsteps.
Here are a few simple painted pumpkins that
your kids can TRULY DO THEMSELVES.
1. MODERN SPIRAL STRIPES
Get thin tape and wrap away.
Paint with layers of white paint,
letting it dry in between layers.
Once dry, gently pull tape and voilà.
For a shiny finish, mix Mod Podge in the paint or
paint a layer on after it is dry.
2. BLOCK COLOR TOPS
Get a thicker tape and decide how much color
you want on top. Choose your color and paint.
Paint a few layers and the stem too.
For a matte finish leave it be,
for some shine Mod Podge it.
3. POLKA DOTS
For orange (pumpkin colored) polka dots:
simply place dot stickers
(any office supply store will have)
all over the pumpkin.
Choose your color and paint a few layers.
Once dry peel them off.
For a different color combo:
Paint the pumpkin a solid color of your
choice and wait to dry.
Add the dots and paint a few layers.
Once dry, peel off and there you go!
4. HERE KITTY KITTY
Tape stripes and paint the pumpkin white.
Let dry, then with a sharpie or black paint add eyes,
nose, mouth and whiskers. Use paper to make
double sided ears and place a toothpick inside and glue, leaving about an inch left out to stick into the pumpkin.
Or you can check out pre-made cupcake kits,
they have fun ideas that can be translated to a pumpkin.
5. SPARKLY PUMPKIN
Paint it one color mixed with mod podge.
Cover in glitter.
Leave to dry.
6. MUMMY
Paint layers of white paint (or get a white pumpkin).
Get a paint pen and draw the wrapped
gauze. Draw eyes and eye balls.
7. MAKE UP YOUR OWN
And please share with us!
Happy October!
Always,
Sage and smallSHOP